Buy marijuana online Alabama
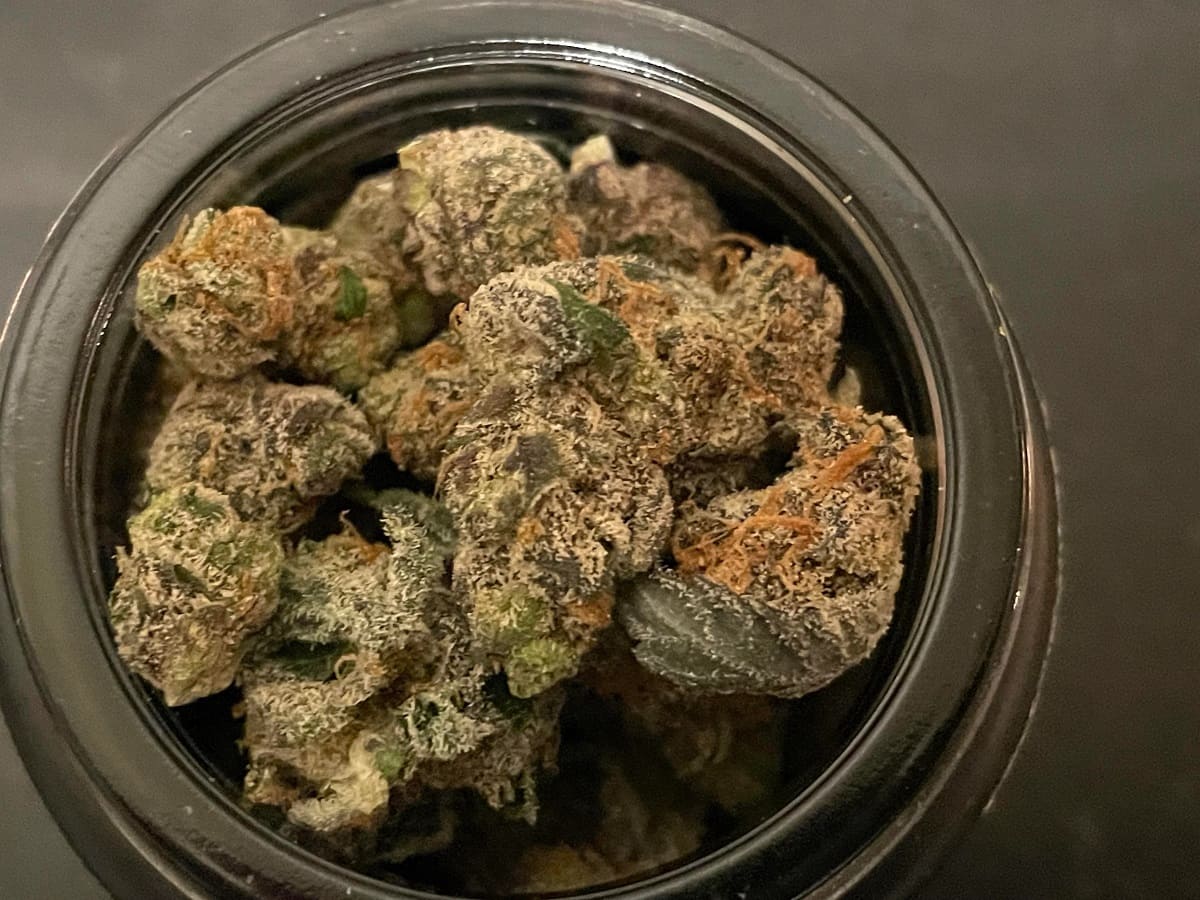
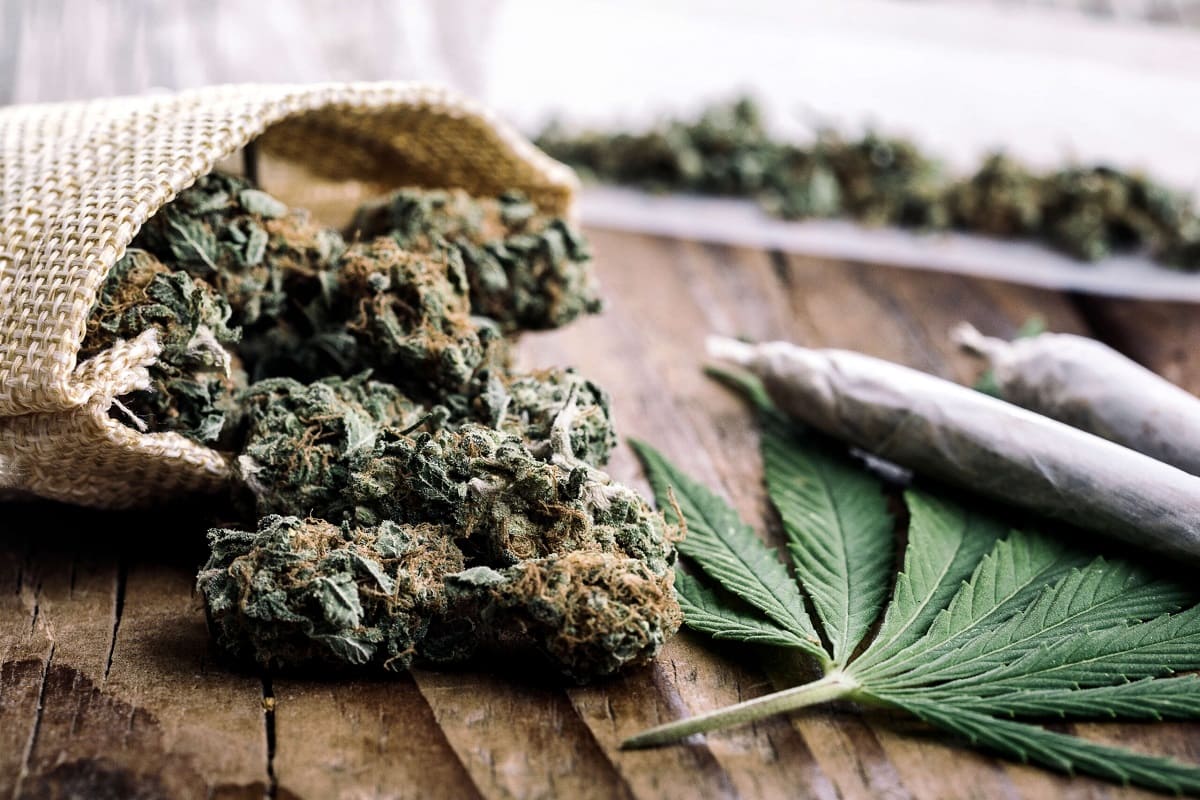
In recent years, the landscape of marijuana consumption has evolved dramatically, with an increasing number of states legalizing its use for both medicinal and recreational purposes. Alabama is no exception to this trend, and residents are now exploring the option to buy marijuana online. Looking to buy marijuana online Alabama? Discover a convenient and legal way to access cannabis products in the Heart of Dixie.
Read More